

Creating keyboard shortcuts in Bubble seemed impossible at first. Until one day, while playing around with some conditionals, workflows, and input fields, I found a way to create a shortcut in Bubble.
But before we continue, after this article was originally published, a keyboard shortcut plugin was made available, which renders this article useless. However, this article could still show you new ways that you can use Bubble beyond how it’s probably suppose to.
The Philosophy of The Shortcut
Input fields are back again, we used them last time to learn how to convert data and this time we are using them to create shortcuts. If you want to make something like Dribbble’s keyboard shortcut for liking a post, this will get you there.
We will be covering the basics of creating keyboard shortcuts and there are many ways to set them up. We’ll be covering just one way so you can get an idea of how it works. After learning how it works, you’ll be able to tweak it to work for what you’re making.
The Bubbler’s Dilemma
You can do this with code, check out https://jsfiddle.net/dmtf6n27/38/ copy and paste the JavaScript into an HTML element in Bubble. Surround the Javascript with a <script> tag and you’re done. Well, if you just want the shortcut to do essentially nothing but display an alert. Which is fine if that’s what you’re looking for. You can even put in dynamic information for it to display in the alert. But, I don’t think that’s what we want.
We can’t use it to run a workflow, or toggle an element’s visibility, or do anything really fun since Bubble can’t get information from the HTML element yet. Just put information into it, albeit, dynamically.
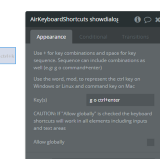
Update: We can now get information from HTML elements using this plugin.
The “Real Solution”
The “real solution” to creating a shortcut for your app is to use the Input Form. It allows us to capture the user’s keyboard and do something based on the value inside the Input Form.
We just have to make sure that it always has focus unless the user is filling out another Input Form or things could get annoying pretty fast. This is where things can get complicated, because you will have to direct focus. It’s tricky unless you don’t have any sort of input fields that will conflict with the input field used for capturing the user’s keyboard.
We’ll have to make sure after each time a user loses focus of another input field, we return focus to it for the shortcuts.
Setting up the input field
In the Bubble editor (Create an account here and follow the tutorials if you are unfamiliar), let’s start off by drawing out an input form. Create a new condition under the conditionals tab for the input form. This new condition goes as “When this input isn’t focused”. Select the dropdown for that condition to change the state of the input’s visibility. Make sure the option is unchecked. This will make sense why we are doing this later on.
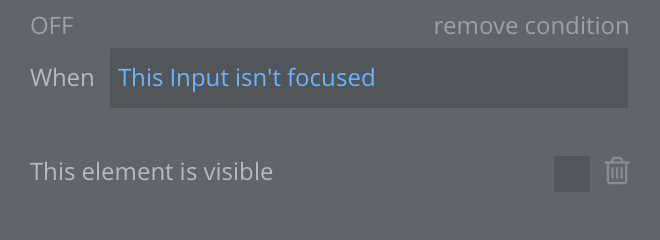
We never want the input to actually be shown to the user, it just technically will be visible when focused. So, edit the style of the input so people won’t be aware of it on your page. It’ll act as a hidden element just capturing the user’s keyboard presses.
Settings up the workflows
We’ll need three or more workflows for this. One for making sure the focus is on the input field. The second is to do something with the value inside the input field. And the third for clearing the input field automatically. If we don’t automatically clear the input after every keystroke, the input will be populated with previous values while trying to enter the new shortcut command.
Making the input always in focus
Create a new workflow for when a condition is true and set it to run every time, not just once. Set the condition for when the Input isn’t visible. Soon this may start making sense why we made the input invisible if not focused. Create two actions for this workflow, one for showing the input (making it visible again), and the second to give focus to the input. If you preview your app now, the input should never lose focus.
This will be different if you have multiple input forms on your web page. When you have multiple inputs, you will need to create flow control (a series of workflows for directing where the current focus should be), but that’s not in the scope of this article.
Doing something with the input value
Since the input is now always in focus, we’ll need to make something happen when the correct shortcut key(s) have been entered. You can make a popup display (what we’ll be doing), changing something in the database, or pretty much anything else you can do with workflows.
Create another when condition is true workflow and set the condition to be true when the value of the input is ‘A’. Make sure it’s a capital, since we want the shortcut key command to be “Shift + a”. Make sure this will also run every time and not just once.
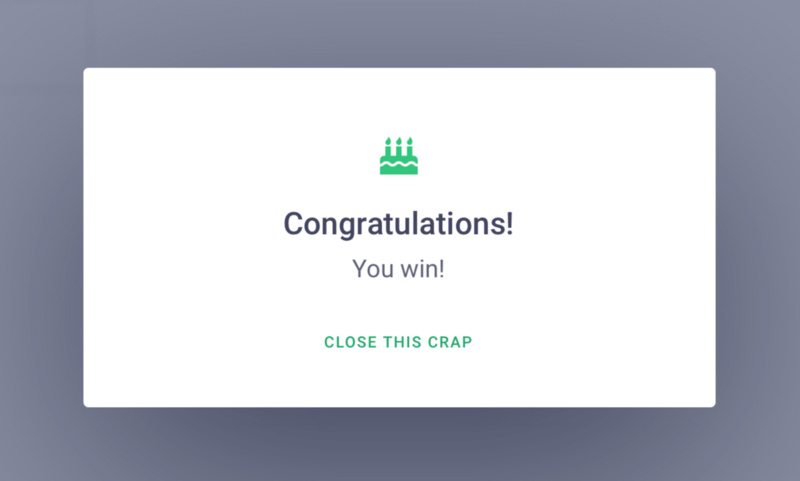
Let’s create an action that will toggle the popup’s visibility. You can find this under Element Actions. If we preview this, pressing “Shift + a” should make the popup become visible. However, if we press it again, it won’t disappear.
Why is that, you ask? The input still has the last value in it, so we will have to make sure a value doesn’t stay in the input. To do this, let’s create our third when condition is true workflow. Set the condition to when the input contains more than zero characters. This will run every time as well.
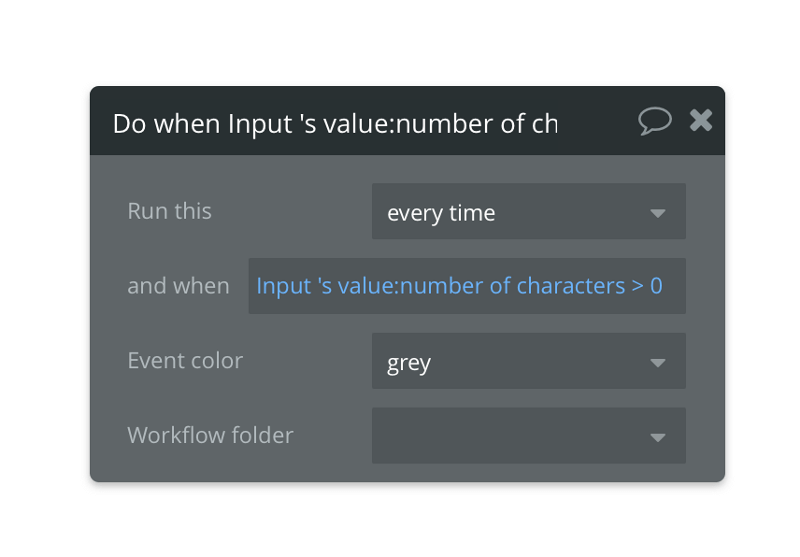
Don’t worry! We can still do something with the value before it’s erased.
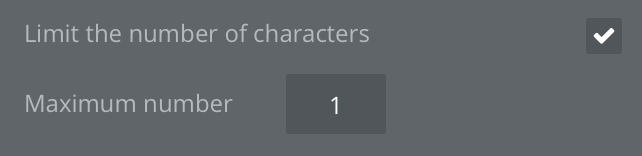
The action for this new workflow is reset contents. This will get rid of the content inside the input for us, preventing an overlap of values. I also recommend to limit the amount of characters that can be entered.
Preview this and you should be able to press “Shift + a” to show the popup. By pressing it again, the popup should diappear.
If this isn’t working for you, let me know in the comment section and I or someone else can help you out.
Limitations
With this method we cannot currently capture if the user has the Command or Control key down. We can get the Option (or Alt) key if pressed down. For example: if we want the shortcut to be “Option + a”, we would just need to see if the value they entered was å. The Option key plus the A key will generate that symbol. You can just use the special character to determine if the shortcut has been pressed. We can also use the Shift key as a modifier which is like the Option key, it just capitalizes the letter, of course.
We can’t get a lot of info from the user’s keyboard, however, we should have enough to do some great things with it.
The Limitations Hack
If you need to use other modifiers besides the shift key, you can see how to get around those limitations here.
Hacking Bubble is a series on how to make Bubble do things it probably wasn’t meant to do.
Don’t miss out on the latest Bubble content by signing up here.
Was this article useful? Do you have a better or different approach? Leave a comment!
Build your app on Bubble's Free plan. No need to upgrade until you're ready to launch your app.
Join Bubble


